What Is Volume Profile?

Volume profile is a histogram that counts volume by price rather than by time. It shows how much trading happened at each price level, with the busiest price called the point of control and the band containing about 70% of the volume called the value area.
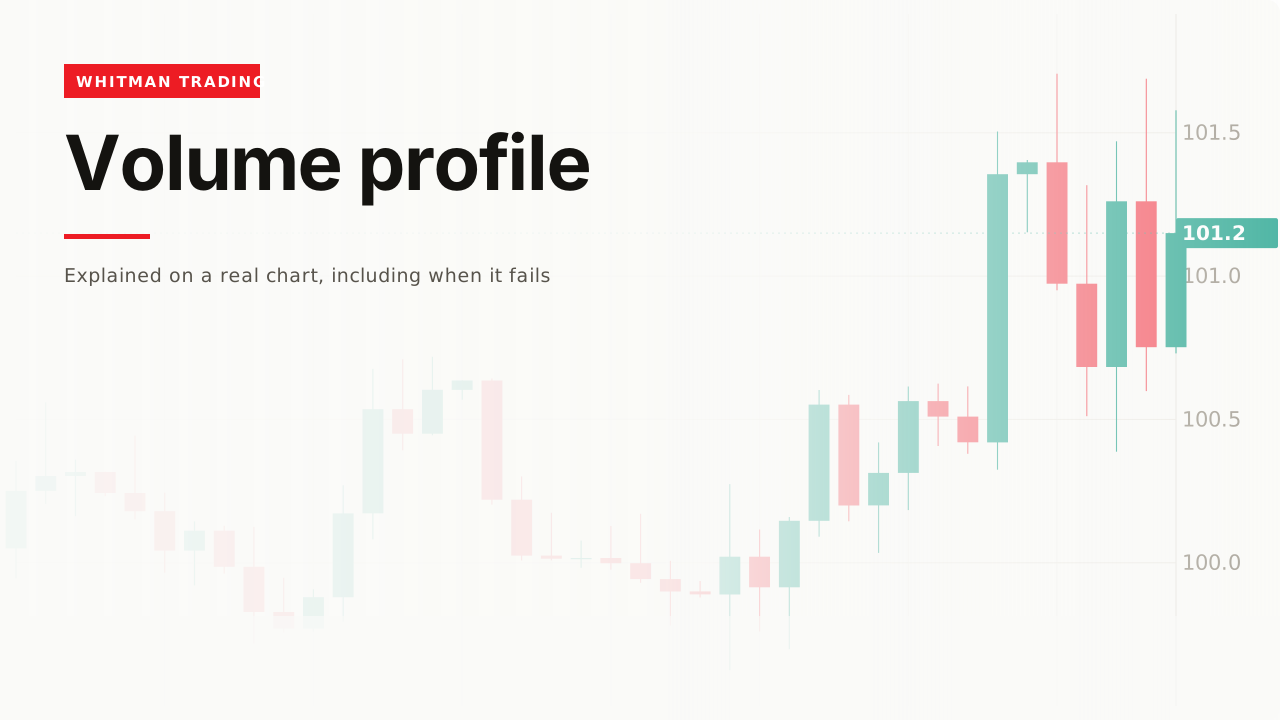
Every chart already shows volume. Volume profile shows the same volume arranged a different way, and the rearrangement is the entire idea.
How it works

The bars along the bottom of a normal chart answer “when was it busy.” One bar per candle, one candle per unit of time.

Volume profile answers “at what price was it busy.” Same bars, same volume, sorted into price buckets rather than time buckets.
That is the whole mechanism. Nothing new is measured — it is a re-sort.
The point of control

The longest bar is the point of control — the price where more trading happened than anywhere else on the chart. Here it is 100.15.
What it is: a fact about the past. More contracts changed hands at 100.15 than at any other price in this window.
What it is not: a prediction. The rule people attach to it — that price tends to return to the point of control — is a separate claim, and a much weaker one than the measurement underneath it.
The window chooses the level

Profile the first half of this scene and the point of control is 100.24. Profile the second half and it is 100.62.
Same bars, same volume, two different answers — because the level is a property of the window you chose, not of the market.
Which makes the window a decision you have to be able to defend, in exactly the way the anchor on an anchored VWAP has to be defensible. A point of control quoted without the period it was measured over is not a level; it is an opinion with a number attached.
The value area

Widen out from the point of control until you have captured about 70% of the total volume. The top and bottom of that band are the value area high and value area low.
On this chart the value area measured 72.4% of all volume between 99.72 and 100.95 — that is the band where the market spent its time agreeing with itself.
The useful reading is inside or outside. Price inside the value area is in territory that has already been negotiated. Price outside it is somewhere the market has barely been.
Thin is the interesting part

Where the histogram is short, price moved quickly. Measured on this chart, the rows above the value area average 0.90 against a chart-wide mean of 1.25 — thin, and price crossed them in a handful of candles.
The reasoning is mechanical rather than mystical: a price with few resting orders has little to slow price down. Thick areas grind, thin areas travel.
This is the reading that survives best, because it is a statement about what was there rather than a forecast of what will be.
The settings, and what they actually change

Two numbers are yours to choose: how many rows the profile is divided into, and what percentage counts as the value area.
I expected the row count to move the answer around, and measured it instead. From 10 rows to 64 on this same data, the point of control moved 0.087 on a range of 2.08 — about 4.2%.
The value area edges move more. The value area high ranged from 101.08 at ten rows to 100.89 at sixty-four, roughly 9% of the range.
So trust the point of control more than the edges. The busiest price is a robust measurement; the boundary of the value area is partly a consequence of the setting you picked.
Three versions, and which window each uses
The section above covers the settings inside one profile. There is a prior choice: which bars the profile is built from at all.
Visible range recomputes from whatever is on your screen. Scroll, and the point of control moves — because you changed the input. This is the default on most platforms and it catches people out, because a level that shifts when you pan is not really a level.
Fixed range builds from a span you select and then stays put. Slower to set up, and it is the one that gives you a number you can still quote tomorrow.
Session profile builds one per trading day, the way pivot points do, and resets with the session.
Pick the one that matches the question. A day-trading read wants the session; a level you intend to hold for weeks wants a fixed range around the move that made it.
Trading the point of control
Three things people do with it, in descending order of how much the measurement supports them.
As a reference. Price above the busiest price or below it — the same “which side” reading the value area gives, on one line instead of a band. This is well supported: it is a restatement of the measurement.
As a magnet. The claim that price tends to return to the point of control. This is a real tendency in ranging markets and it is not a mechanism — it is close to a restatement of what a range is, since the busiest price in a range is near its middle by construction.
As a naked point of control. A busy price from an earlier session that price has not traded back to since. The reasoning is that unfinished business sits there, and it is the weakest of the three: the level is stale, nobody can say how long it stays relevant, and there is no version of the argument that says when it expires.
The honest ordering is the one above. The first is a measurement, the second is a tendency, and the third is a story — and the further down that list you go, the more the level needs something from price to agree with it.

Find it on that one before reading on. The answer is the chart at the top of this page.
A worked example
Price has spent most of the window between 99.72 and 100.95. That band is the value area, and it is a trading range described by volume instead of by highs and lows.
It leaves the top of the band. Above 100.95 the profile is thin, so there is little resting supply to work through.
That is a reason to expect speed, not a reason to expect direction. Thin means fast if it goes; it does not say it goes.
The invalidation is a return inside the band. Back below the value area high and the reason for the trade — that price had left the negotiated area — has stopped being true.
The original data
Across our study of 24,971 trading videos, 374 cover volume profile. The median one gets 7,245 views, 78% never pass 50,000, and the median length is 13.4 minutes.
The corpus carries description text for 108 of those 374, and across those 108, three mention invalidation, failure, or what a bad read looks like.
When it fails
Price walks straight through the busiest price

The point of control is where trading happened, not a wall. On this chart price crossed it and kept going, closing well below the value area low.
Everything the profile said was true. It was a description of a past that had stopped being relevant.
The window is arbitrary
A profile is computed over bars you chose. A different start date gives a different point of control on the same instrument, and nothing in the tool tells you which window is the right one.
You read it as a forecast
Covered above and worth repeating because it is the common failure. The histogram measures; the trading rules bolted onto it are somebody’s theory.
You found the level afterwards

A profile built from the completed move is not the profile you had at the time. Cut the right-hand side off and the same picture supports both readings.
Related
Volume is the underlying number, and what it does and does not tell you about a move.
Support and resistance is the same idea reached from price alone — a busy price and a level are usually the same place.
And trading range is what a value area looks like when you describe it with highs and lows instead.
I use this to answer one question, which is whether the price in front of me is a busy price or an empty one. Busy means a lot of people have positions there and it tends to be slow and messy; empty means price can travel. That is genuinely useful for deciding whether to expect a grind or a run, and it is about as far as I take it. The rules people build on top of the point of control are a much bigger claim than the histogram itself makes.
— Michael Whitman, from this video
This page is educational, not financial advice. Test every idea on your own charts before risking money.