How Much Should You Risk Per Trade?

Position sizing turns a stop distance into a number of shares or contracts: the amount you are willing to lose, divided by the distance from entry to stop. Because the stop distance changes with volatility, a fixed position size means a changing amount of money at risk.
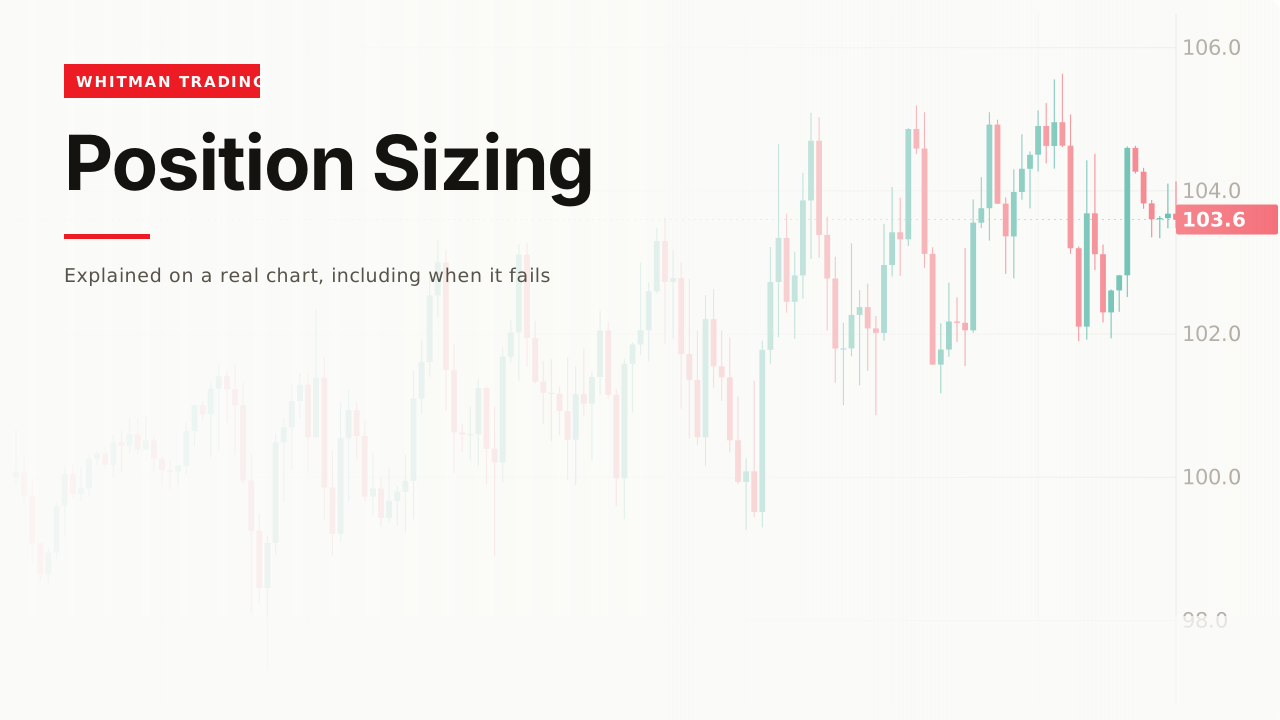
Two lines of arithmetic that turn a level on a chart into a number of shares. It is the least interesting thing on this site and the one that decides whether the rest of it matters.
How it works

Decide what a loss costs before you decide how much to buy.
money at risk = account × a fixed fraction
position size = money at risk ÷ (entry − stop)
Worked through with the chart above: a £10,000 account risking 1% is £100. The entry is 102.45, the stop is 100.04, so the distance is 2.41. £100 ÷ 2.41 = 41 units.
Nothing in that is a forecast. It is division, and the only judgment is the fraction.
The distance is what moves

Two stops, same account, same fraction, different positions.
A 0.80 stop distance gives £100 ÷ 0.80 = 125 units. A 4.82 distance gives 20 units. Both lose £100 if they are hit.

And the distance moves with the market. ATR on this history ran from 0.55 to 1.65, a factor of three, so a fixed stop distance is three different risks depending when you used it.
That is why the formula takes the distance as an input rather than fixing it.
What a fixed size costs instead
The alternative — always buying the same number of units — is what most people actually do, and it is worth naming what it does.
It makes the money at risk vary by however much the stop distance varies. On this data, threefold. So a run of losses in a volatile stretch costs three times what the same run costs in a quiet one, and nothing announced the change.

A fixed fraction is not more sophisticated. It is the version where you decided the number instead of the market deciding it for you.
What the fraction should be
This page will not tell you, and any page that does is guessing about your circumstances.
What the arithmetic does say is how the fraction and the drawdown relate. At 1% per trade, ten consecutive losses cost about 10% of the account. At 5%, the same ten cost about 40% — and recovering from 40% requires a 67% gain, which is the asymmetry the risk management page sets out.
Ten consecutive losses is not a remote scenario for any approach with a win rate near half.

So the fraction is chosen from the losing streak you intend to survive, not from how confident you feel about the next trade.
Correlation is the hole in it
The formula sizes one trade. It says nothing about how many you hold, and that is where a careful framework still fails.
Five positions at 1% each are not 5% of risk if they move together. Five technology shares, or five currency pairs all quoted against the dollar, are substantially one position wearing five tickers — and a single adverse move takes all of them.
The formula cannot see this, because it only ever looks at one trade at a time.
The practical fix is a second budget on top of the first. A cap on total open risk across all positions, and a smaller cap on risk within any one group of things that tend to move together.
Neither number is derivable from a chart, which is why this section has no figures in it. What is derivable is the warning: if you size every trade correctly and hold ten correlated ones, you have carefully calculated the wrong number.
A worked example
Place the stop first, at the level, from stop loss placement.
Measure the distance. One subtraction.
Divide the money you are willing to lose by it. One division.
Take the position that gives you, or none. If the answer is smaller than the minimum you can trade, the setup is not available today — which is a real and unwelcome output.
And never adjust the stop to reach a size you wanted. That is the formula run backwards, and it converts a risk framework into a rationalisation.
The original data
Across our study of 24,971 trading videos, 771 cover position sizing and risk per trade. The median one gets 2,270 views, 87% never pass 50,000, and the median length is 12.6 minutes.
The corpus carries description text for 109 of those 771, and across those 109, 41 mention invalidation, failure, or what a bad read looks like — about 38%, the third-highest rate measured in this glossary, after stop loss at 63% and why traders lose money at 44%.
Which makes sense and is worth saying plainly: the topics that talk most about being wrong are the two whose entire subject is being wrong. And they are also among the least watched — 2,270 median against 36,446 for leverage.
When it fails
A tight stop is hit more often

Sizing up because the stop is tight is arithmetically correct and behaviourally dangerous, because that tight stop is hit far more often — 19 of 25 against 7 of 25 on this data.
The money at risk per trade is the same. The number of times you pay it is not.
The gap fills your stop somewhere else

A stop is an instruction, not a guarantee of price. If the market opens beyond it you are filled at the open, and the loss is larger than the formula assumed.
That is the specific reason the fraction should be small enough that one bad fill is survivable, and it is why the swing trading page insists on it.
The fraction was chosen after a good run
Confidence is not information about the next trade. Raising the fraction because the last five worked is the most common way a sound framework gets abandoned, and it happens at exactly the point it feels most justified.
You sized from the position, not the stop

Nothing on a chart says what size to trade. It comes from the account and the stop, and a chart that looks compelling is not an input to the calculation.
Related
Risk management is why a fixed fraction, and the arithmetic of drawdown that sets it.
Stop loss placement supplies the distance this formula divides by.
And ATR is how to know whether that distance is wide or narrow for this market today.
This is the one piece of arithmetic I would not trade without, and it is genuinely two lines long. What it fixed for me was not losses, it was the inconsistency - I used to take a normal-sized position in a setup with a huge stop and a normal-sized position in one with a tiny stop, which meant I was risking wildly different amounts without noticing. The formula does not make me right. It makes me wrong by the same amount every time.
— Michael Whitman, from this video
This page is educational, not financial advice. Test every idea on your own charts before risking money.